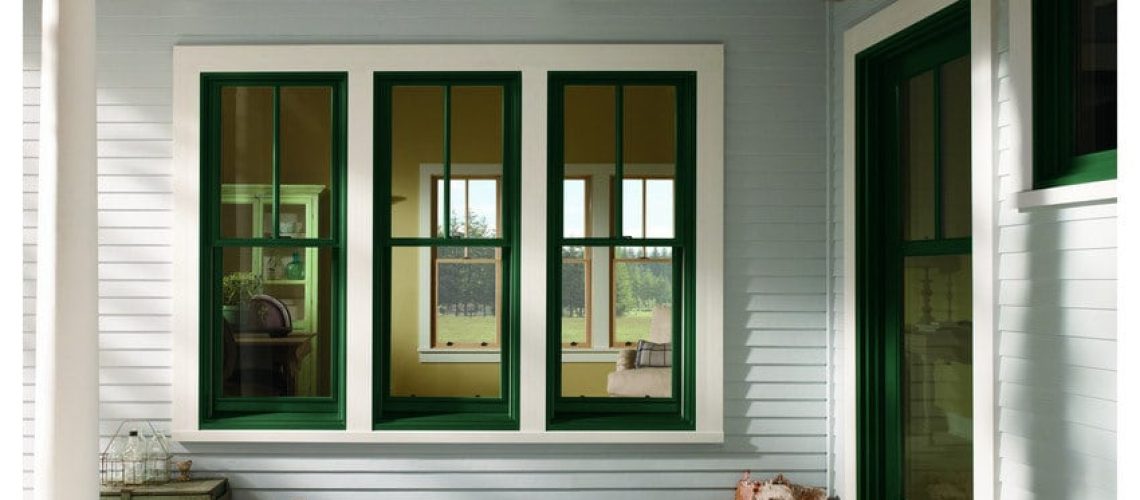
Those who’ve painted their window and/or door trims before know that this task isn’t easy. Fact is, many of them consider it an extremely challenging task which necessitates precision and patience. Also, achieving an aesthetically-appealing outcome in this project requires a lot of practice and experience.
If you are planning to embark on this painting project, below are tips on how you can properly and quickly paint around windows and doors.
Remove Any Accessories Or Hardware
The first step in this project is to remove accessories you may have on your door or window such as ornaments and curtains. You must also remove the hardware on them. This includes door knobs and window handles. There are those who opt to remove their doors and windows, too. If this option is doable for you, try it because it’s going to make the task easier and result in a neater finish.
Fix Cracks
If hairline cracks are present along the drywall, use a patching compound to cover it. If you’re dealing with wider cracks, remove any loose material and sand the edges to smoothen them. Then, fill the cracks with a premixed joint compound. After filling the cracks, allow it to dry; then, sand until you achieve a smooth finish. Keep in mind, the deeper the crack, the longer the drying time is. Also, if you’re dealing with exterior cracks, it’s best to use weatherproof caulk to fill them.
Sand The Surface
Sanding is necessary to even out any rough surface. Just like other pre-painting tasks, the purpose of sanding is to prepare the surface and to ensure that the paint adheres well on the surface for the paint job to last long. Use a medium-grit, rubber sanding block if you want something which is easy or comfortable to hold. After sanding the surface, wipe away or vacuum the dust.
Paint The Trim
When painting the trim, you have the option of starting with the room-facing section or the inside part. Experts recommend working on the inside section first. This way, you don’t have to worry about messing the paint job on the outer part and getting paint on your hand while working on the interior area.
Basically, the steps in painting the trim are no different from those observed in painting the walls – apply primer, let it dry, apply paint. When choosing a primer and a paint, take into consideration that windows and doors are frequently used and subjected to various weather conditions like pelting rain and strong winds.
At this stage, what many beginners and non-professional painters find most challenging is painting areas requiring a straight line of paint. For this project, this pertains to the part where the trim meets the wall. For example, you want to paint the wall blue and the trim white. How do you ensure that the white trim paint doesn’t end up on your blue wall?
The most common practice is masking, wherein areas which shouldn’t be painted are“protected” with painting tape. The other method is called cutting in (or cut in), where straight lines are drawn alongside the areas that need paint. It is the method used by professional painters. Between the two methods, cutting in is more difficult to do. Fact is, successfully doing it requires a lot of practice and a steady hand. It also necessitates the use of the right tools like an angled sash brush and a cut bucket. Moreover, proper techniques must be employed like holding the brush close to the bristles (like the way you grasp your pencil) and applying the paint in a fast yet steady pace.
While it may be more challenging, cutting in is preferred over masking. Since minimal preparation is required (putting on tape isn’t necessary), cutting in is deemed to make painting around window and door trims faster. If you decide to use this method, make sure you practice several times to avoid a subpar paint job.
Learn more about how to quickly paint around windows and doors. Call us today at 086 608 1817 / 085 139 0233!
—
Photo by Andersen Windows
